Custom Texturing XYZ displacement - Tutorial
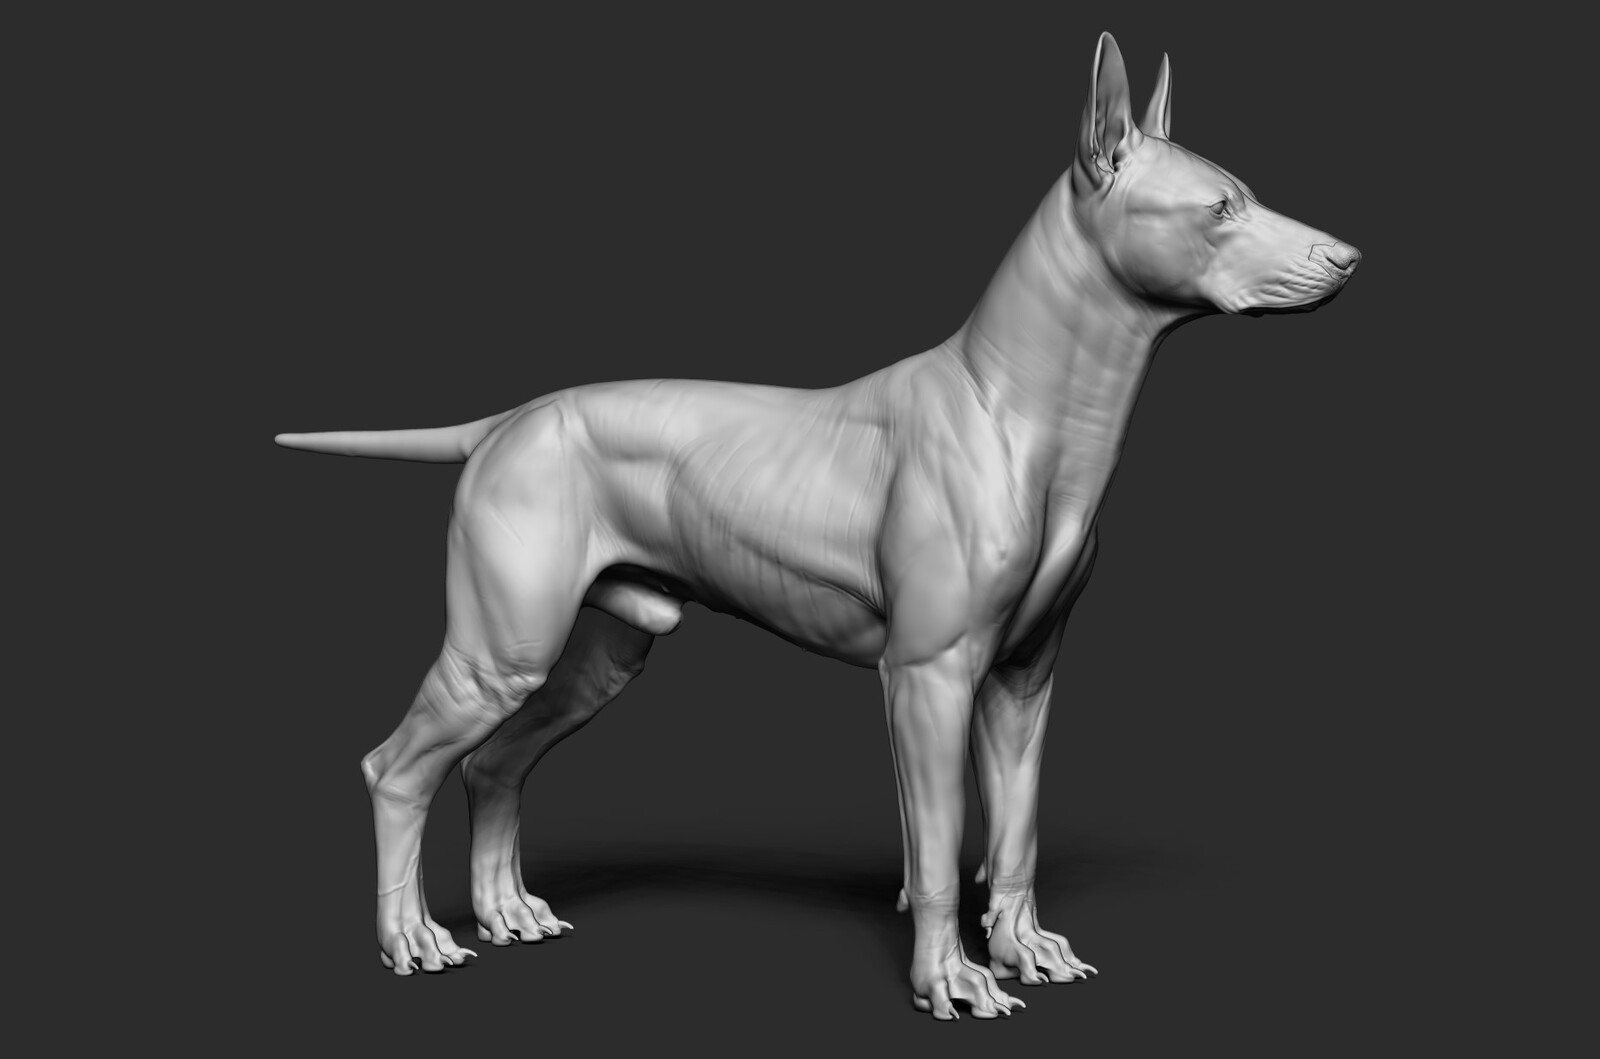
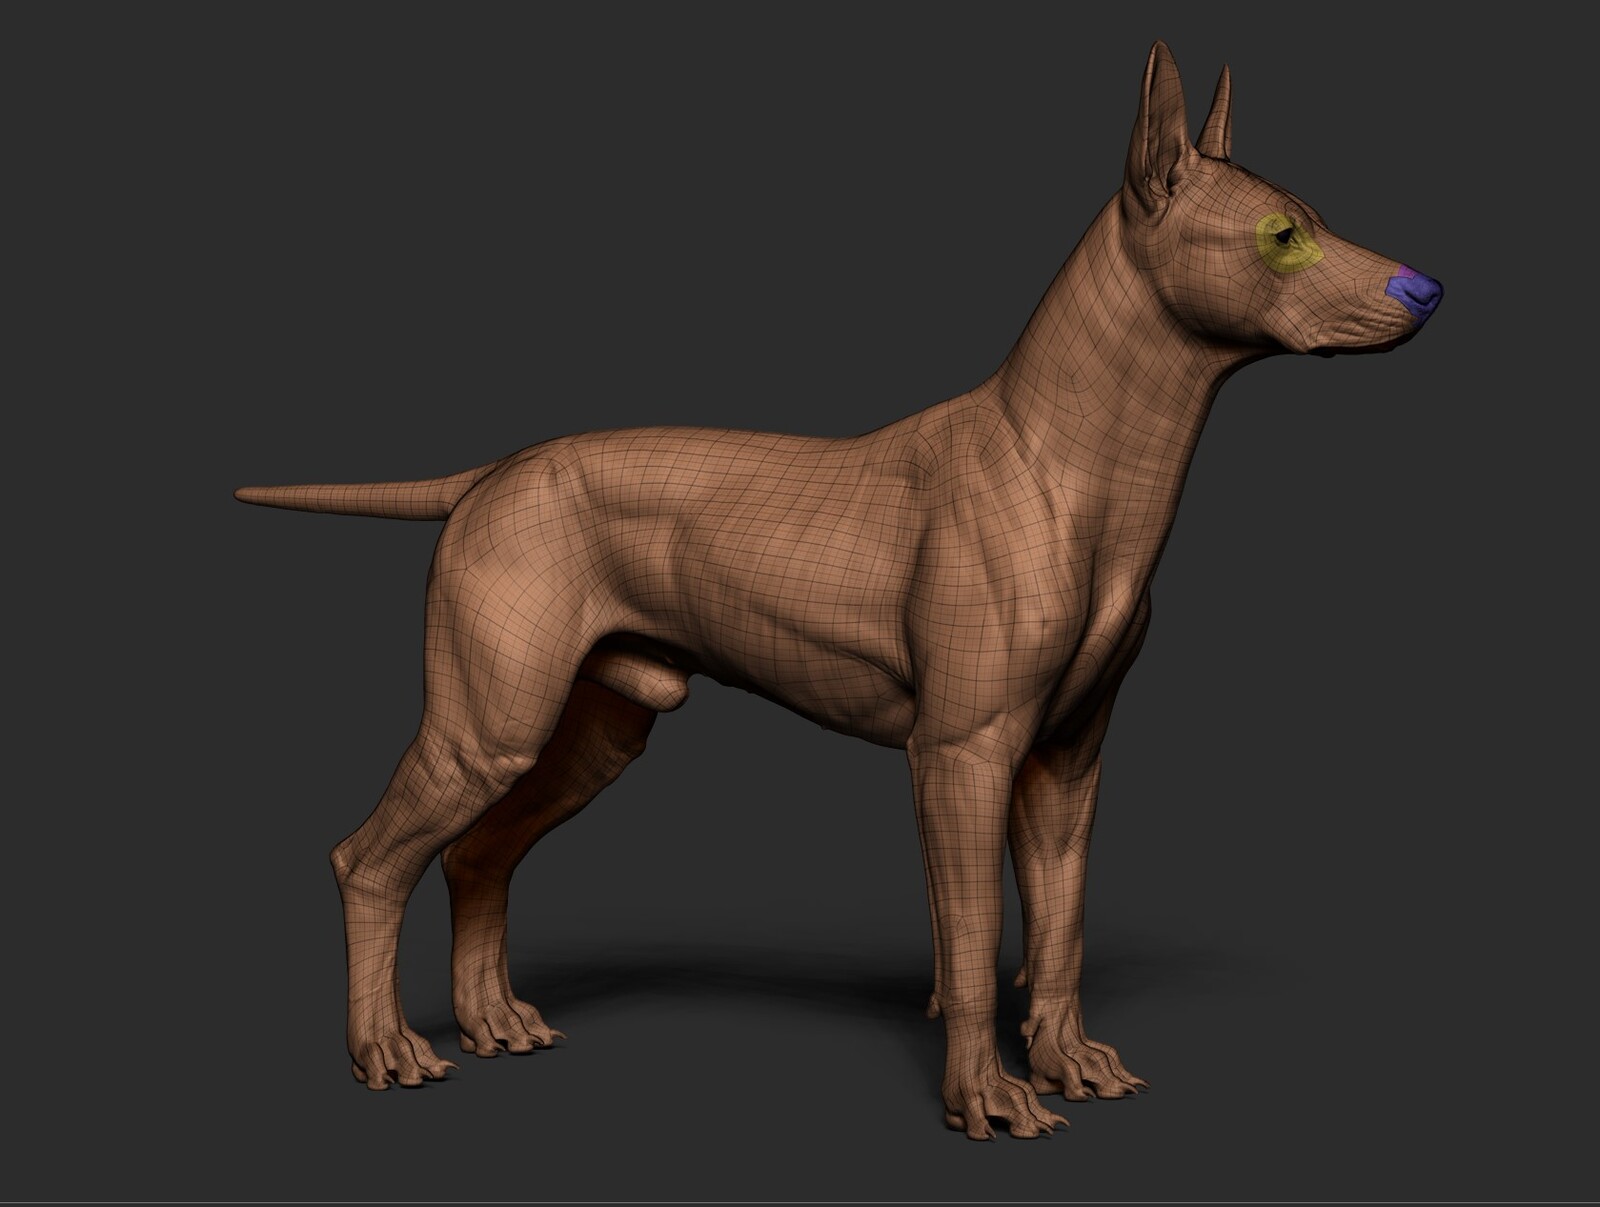
Welcome to this in-depth tutorial on how to Create your Custom TexturingXYZ displacement maps.
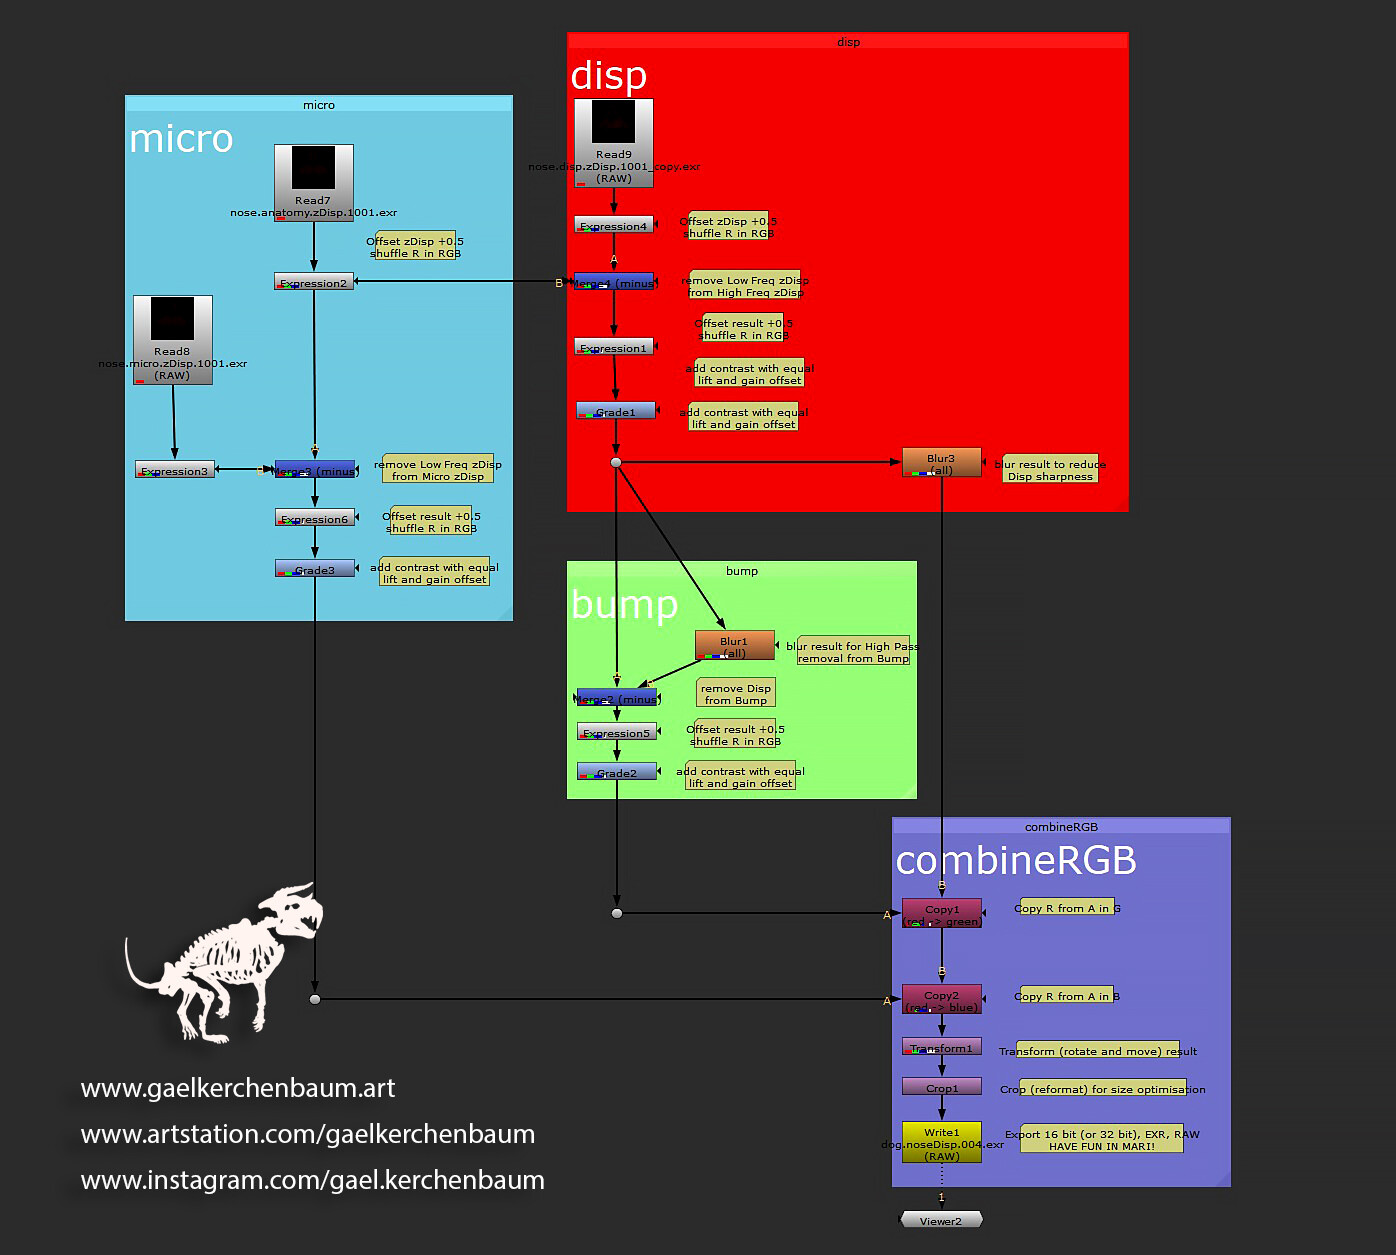
This tutorial is divided into three main chapters. I will teach you how to prepare your model, export your custom displacement and combine them into a three-channel map, and finally how to project it in Mari.
Please, feel free to support my work by sharing it with others and following me on my portfolio pages:
https://www.instagram.com/gael.kerchenbaum/
https://www.artstation.com/gaelkerchenbaum
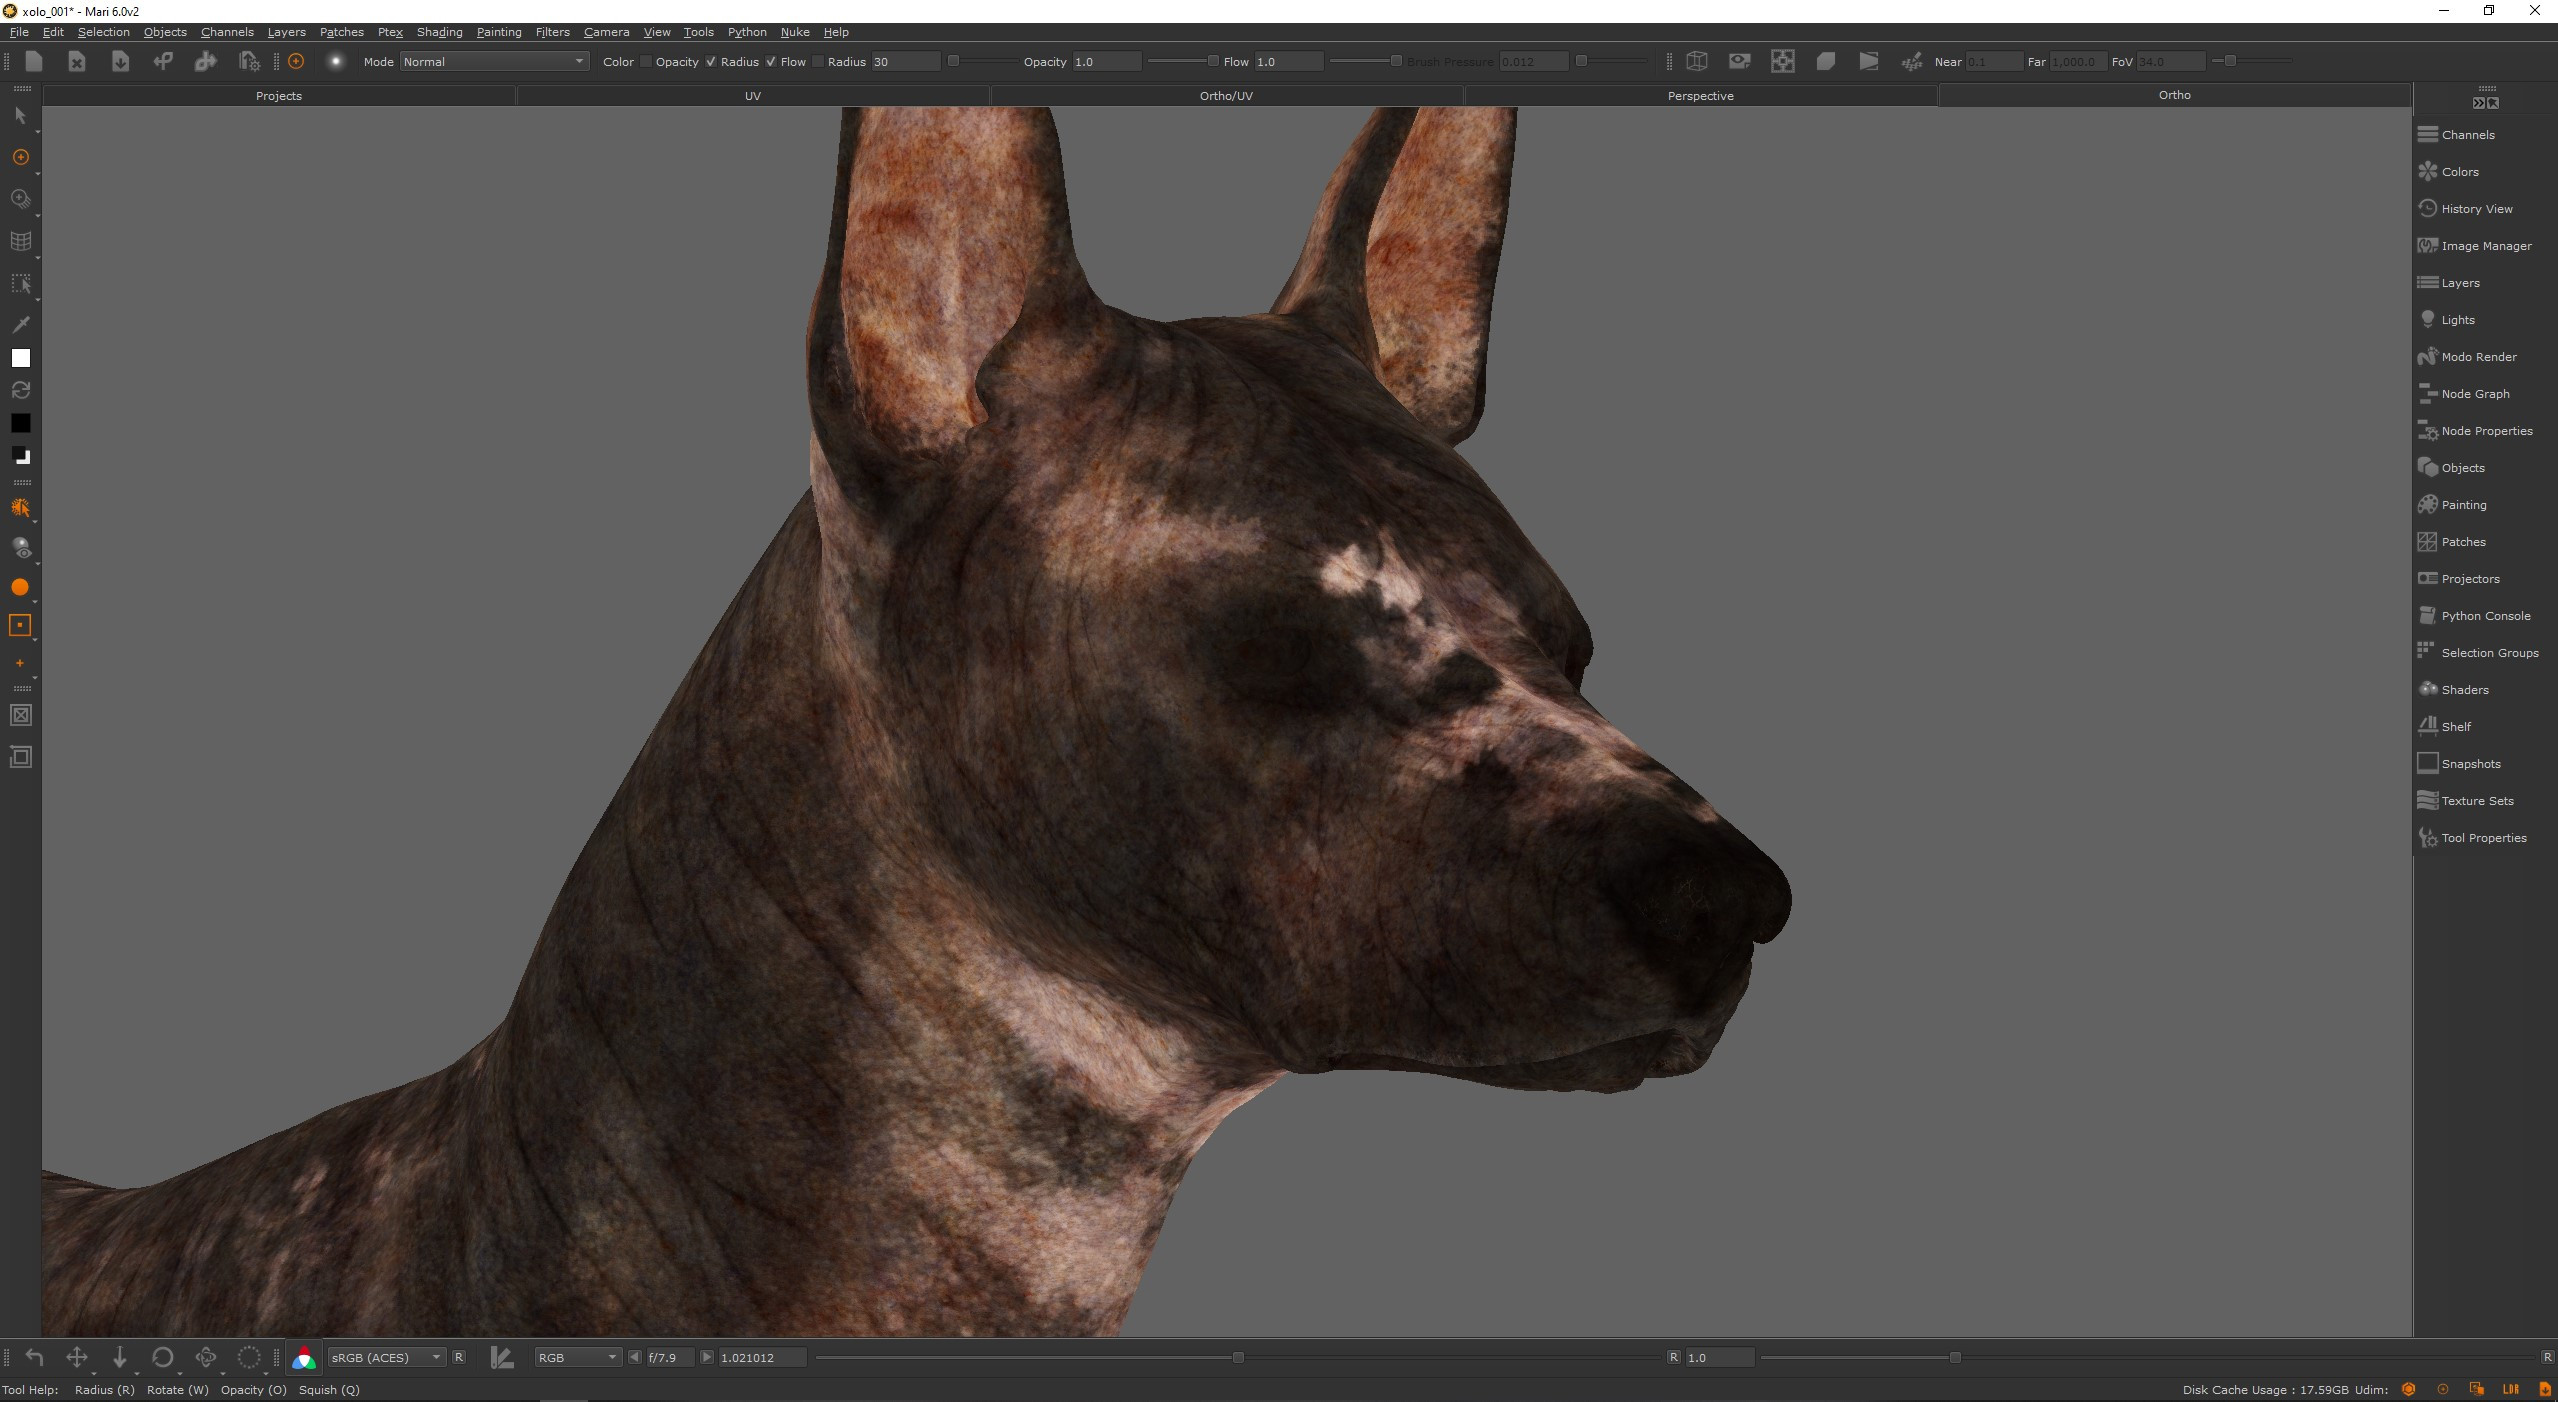
Procedural Albedo. Want to learn how-to? My previous tutorial is also freely accessible on YouTube:
https://youtube.com/playlist?list=PLwBXF09xQryqZ9v7pU3lRiDhqkRt-w4ie
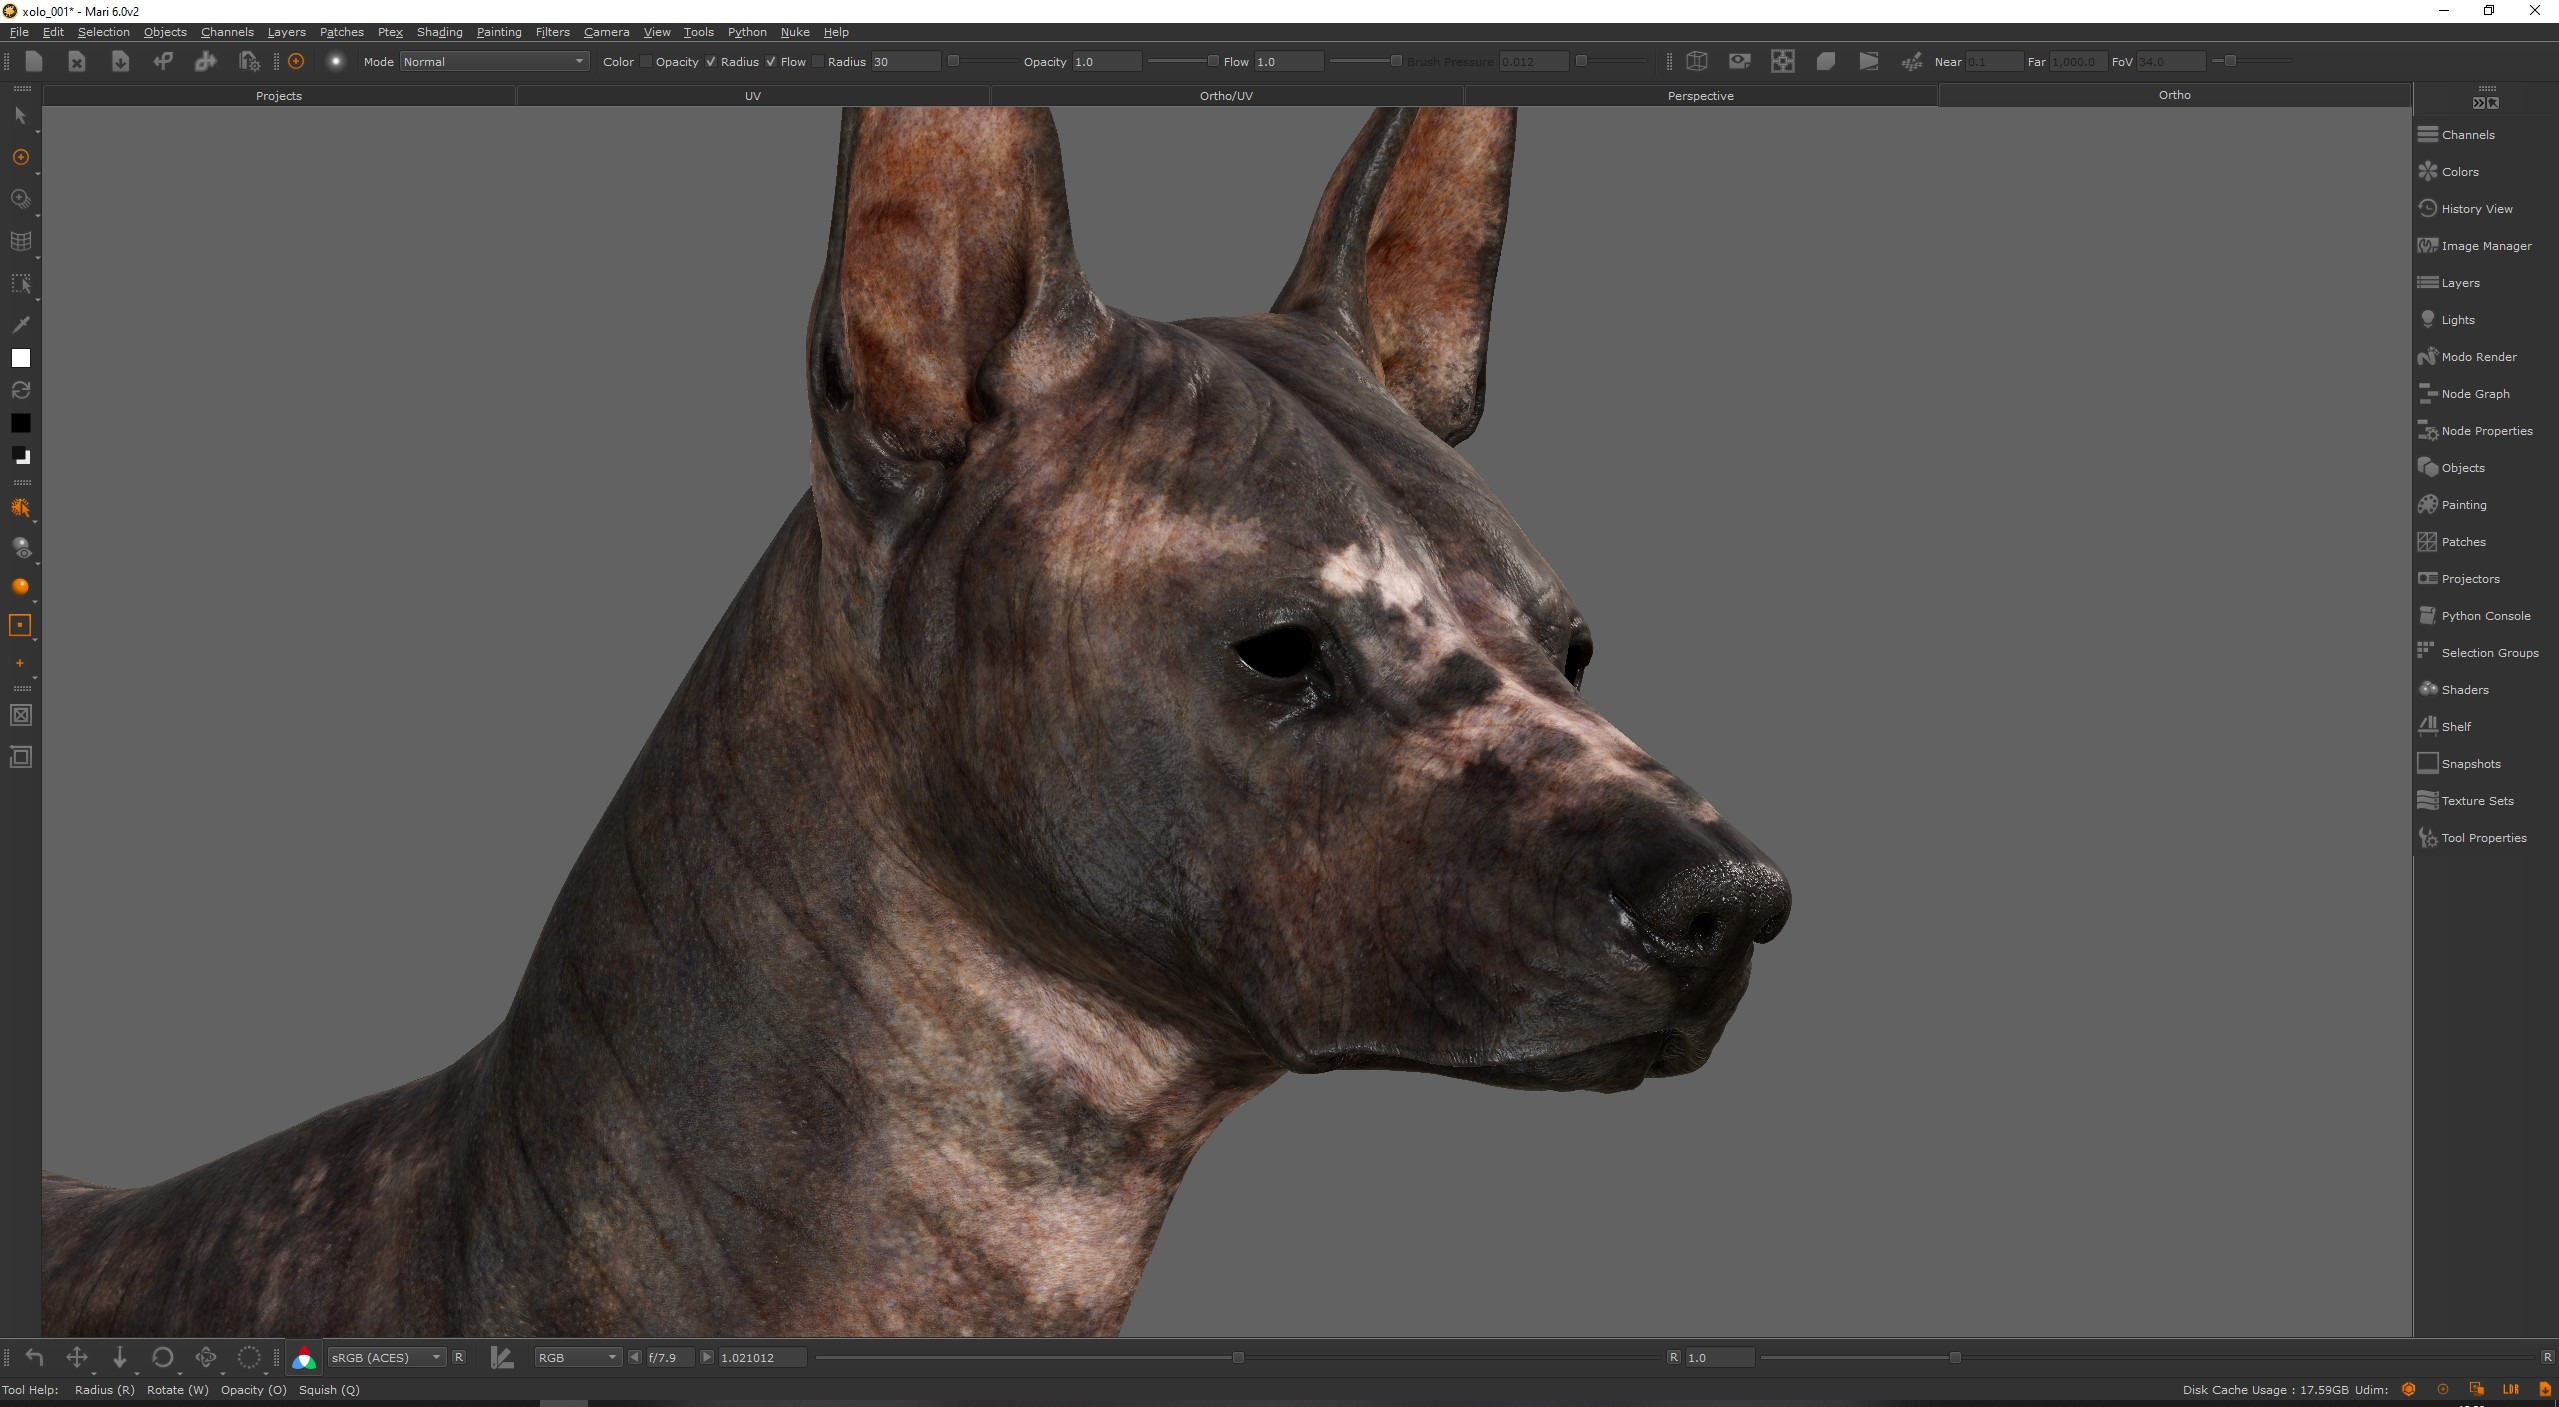
Procedural Albedo. Want to learn how-to? My previous tutorial is also freely accessible on YouTube:
https://youtube.com/playlist?list=PLwBXF09xQryqZ9v7pU3lRiDhqkRt-w4ie


